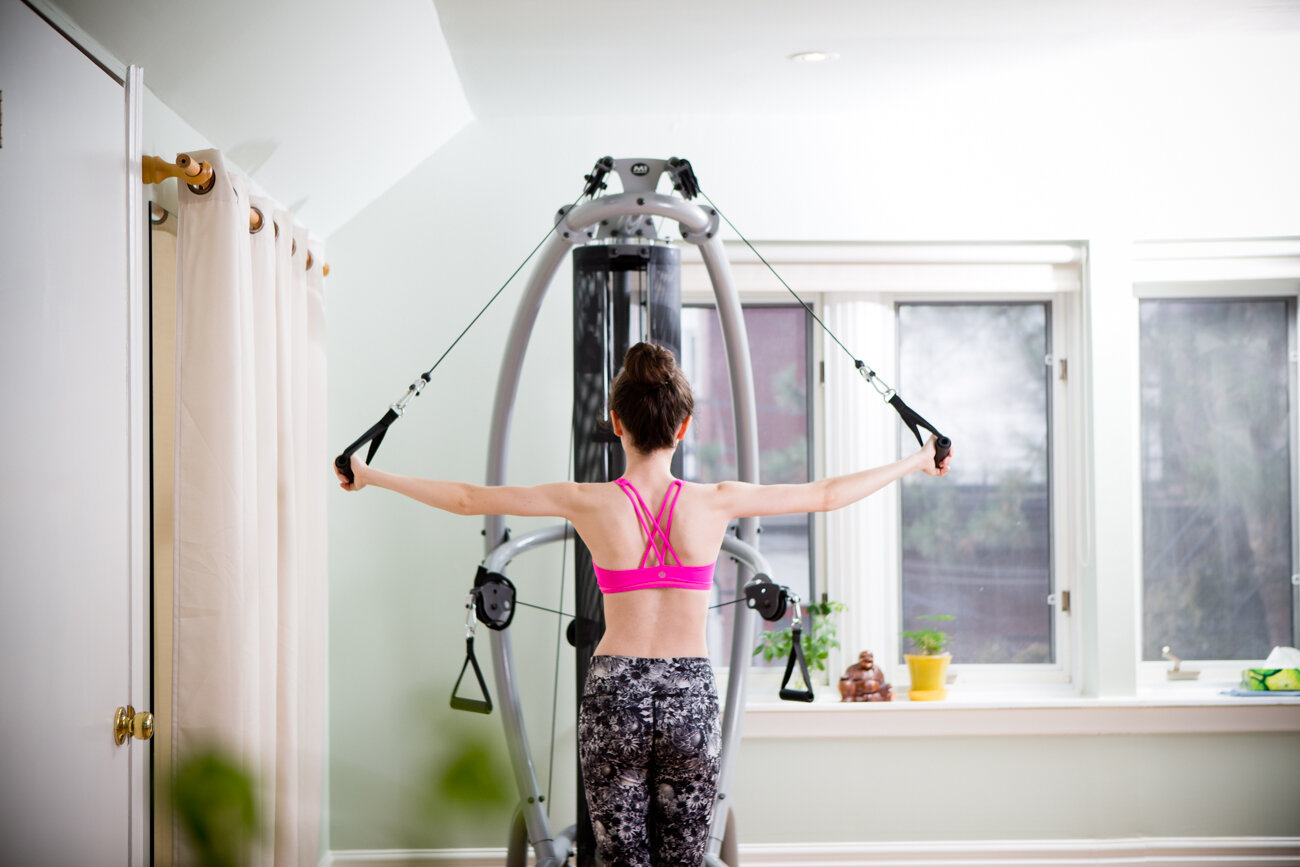
Introduction to the Treatment Process

Joshua teaches 1.jpg

In this first article on my series about Scoliosis Treatment I list the steps I go through to treat a new client with scoliosis. In future articles I will write about each step and explain in a bit more detail what’s involved. Let’s get started!

Step One – Read and interpret your X-rays and radiologist’s report.

Sometimes there can be some medical jargon in a radiologist’s report that is difficult to understand. It can also be hard to know exactly what to look at when reviewing an X-ray. At the consultation appointment I go through your X-rays and radiologist’s report with you. I can “translate” any medical jargon and help you completely understand the significance of your X-ray and the report that is associated with it. I answer any questions you may have about your diagnosis and explain my treatment approach.

Step Two – Assess your posture and coordination.

One of the most common methods for assessing scoliosis is the Adams Test. I use the Adams Test and my own assessment tools to get a clear picture of your posture and coordination. The goal of scoliosis treatment is to help you have as upright and symmetrical a posture and coordination as possible. This is the best way to ensure that your spine remains supported, your curve doesn’t grow, and you avoid surgery. The key to achieving these goals lies in identifying the compression areas in your torso that correspond to your scoliotic curves, and creating volume and vitality in these areas.

Step Three – Posture and proprioception training with a full-length mirror.

Effective scoliosis treatment is, most importantly, posture and proprioception treatment. Not only do I teach a variety of exercises to help you improve your posture and proprioception, but every subsequent exercise you do, whether it is for stretching, strengthening, or mobilizing, will always be considered first and foremost as a posture and proprioception exercise. Your posture comes first and the exercise second.

Step Four – Create a custom exercise routine.

Joshua teaches 2 copy.jpg

Your exercise routine will involve stretching, strengthening, and mobilizing exercises that will be designed to address the specifics of your body and scoliotic pattern. The goal of your exercise routine has two parts that run concurrently. 1. To generally improve your whole-body flexibility and strength. 2. To bring intensive attention to helping you have a more symmetrical and upright posture. A large part of this work involves creating volume and vitality in the compression areas of your torso.

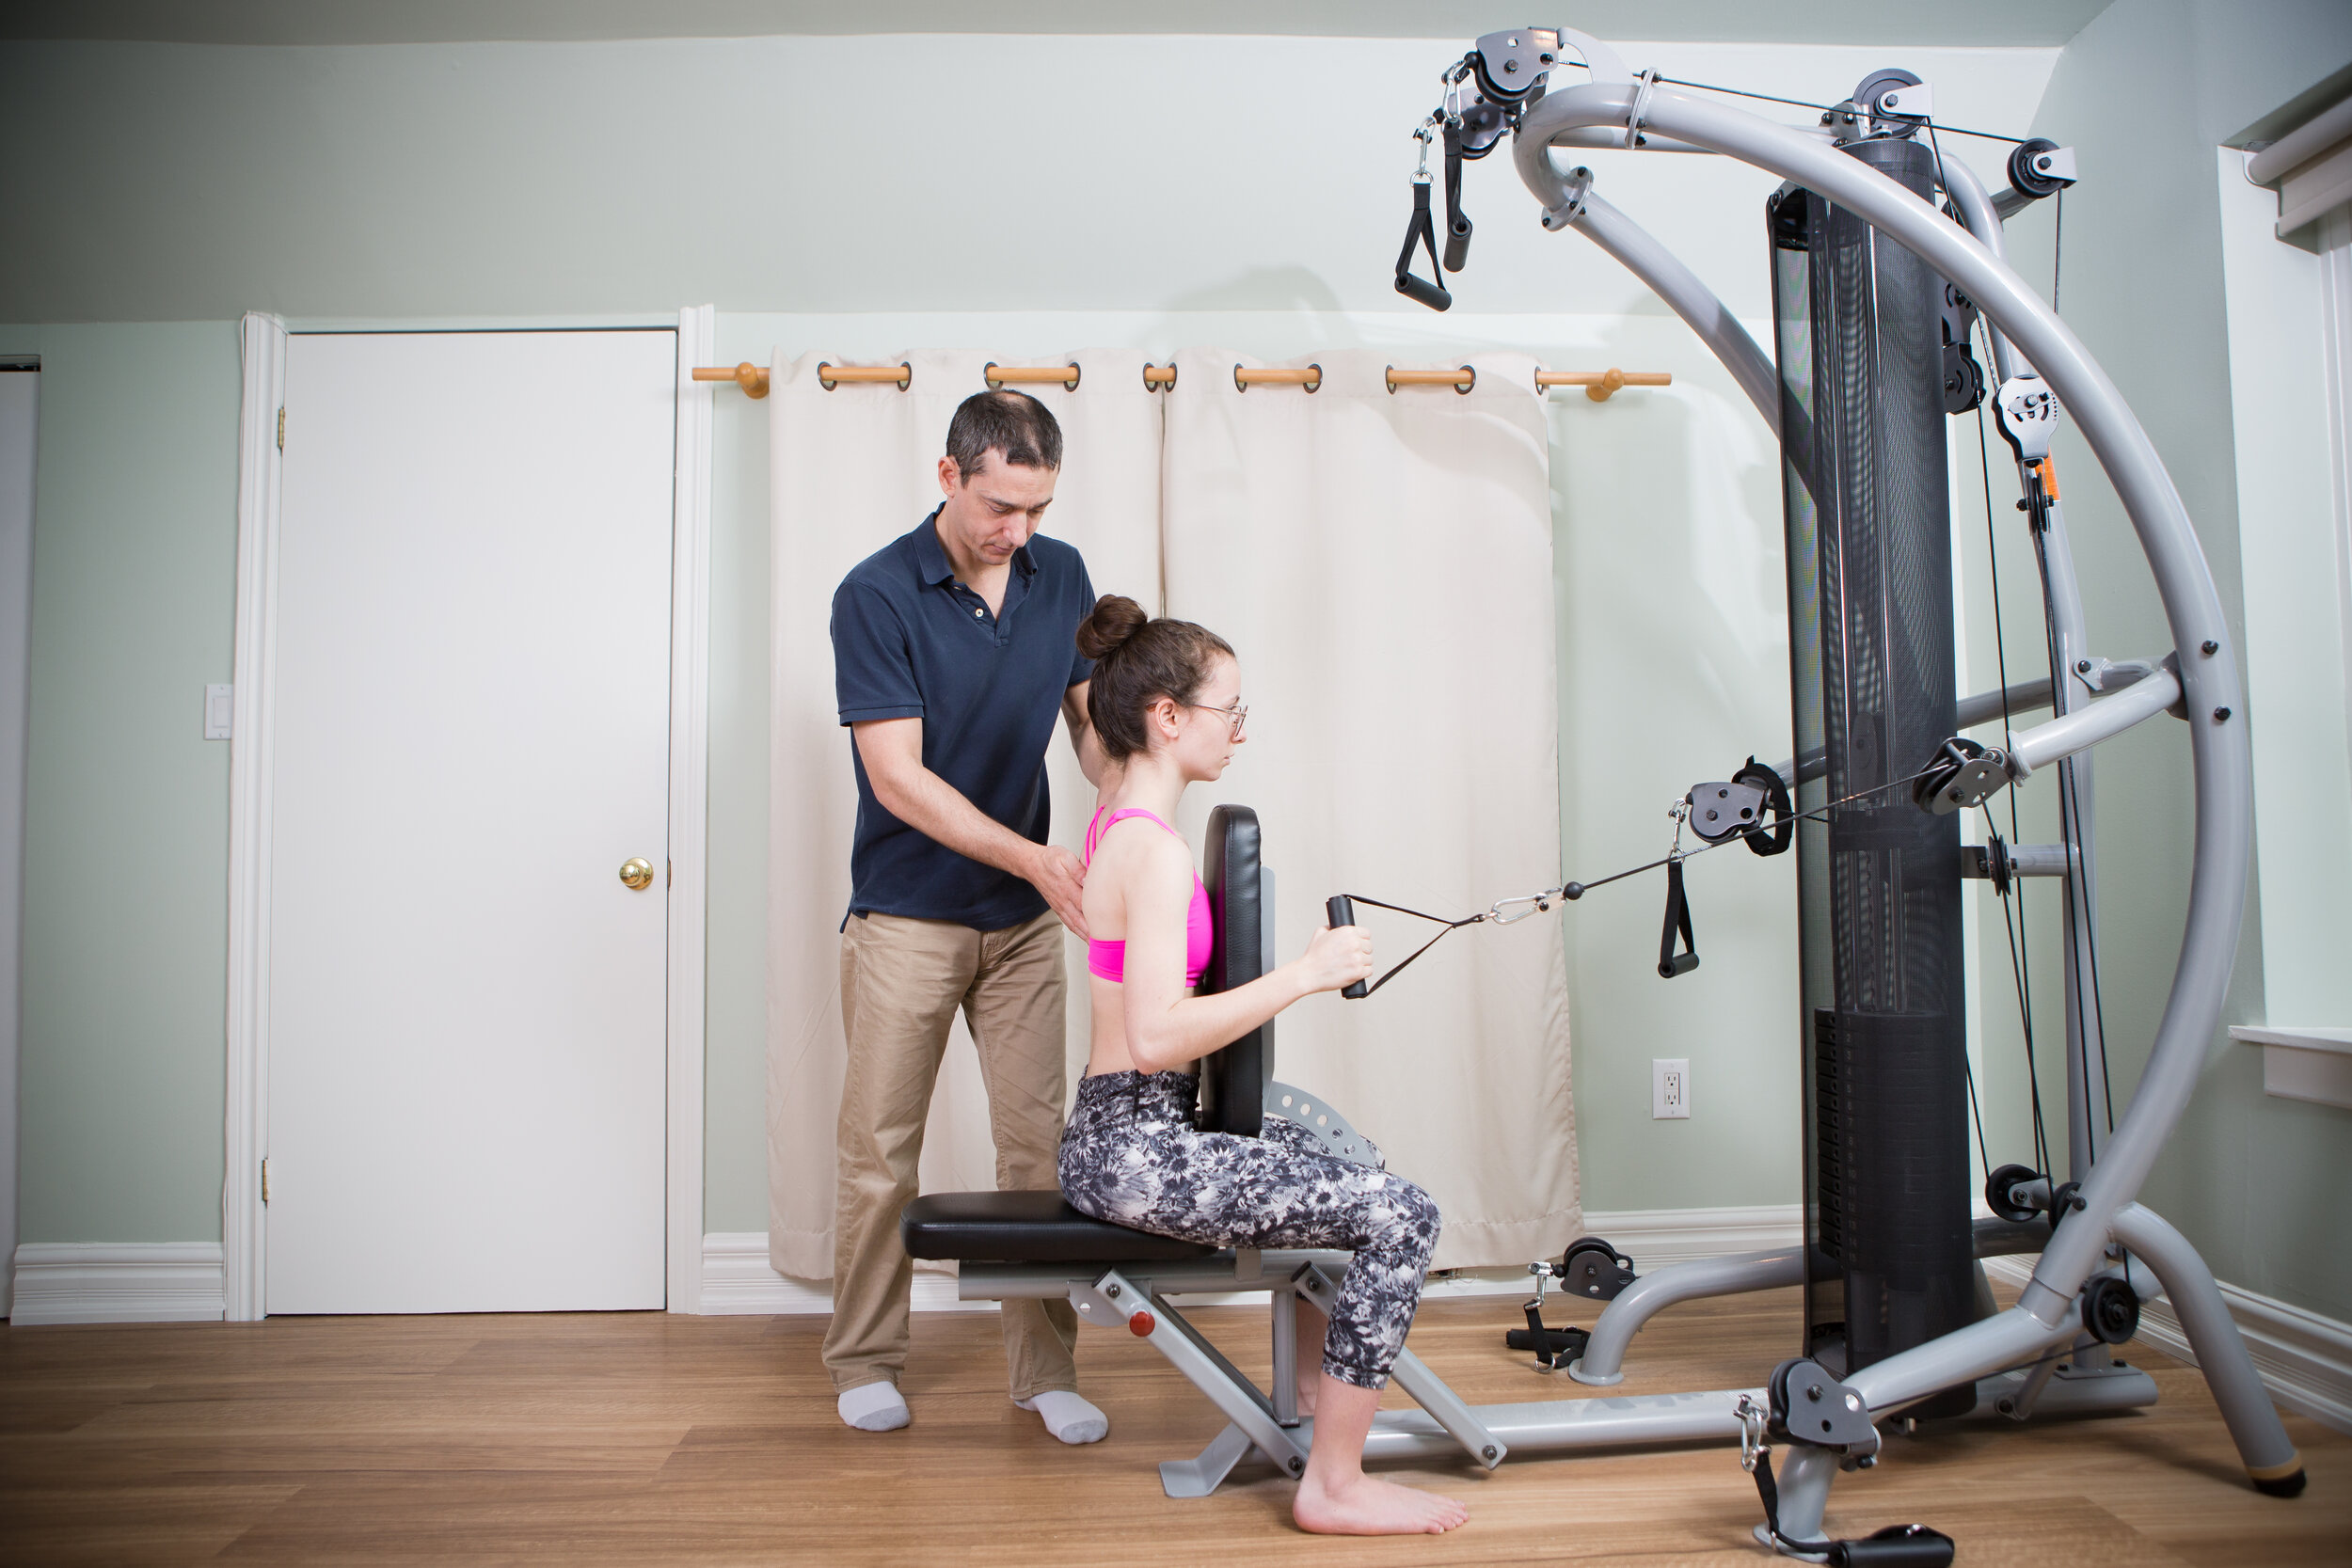
Step Five– Provide manual treatment.

Manual treatment is useful for working muscles and fascia in a way that complements your exercise routine, and also affects areas of your body more directly and effectively than exercise training alone is sometimes able. As with your exercise routine, manual treatment aims to 1. Bring volume and vitality to your compression areas. 2. Work on other areas of restriction or imbalance, which may not be directly caused by your scoliosis, but which – when addressed – will make your scoliosis treatment more successful.

Step Six – Review and expand steps three to five.

There is a lot to take in at the beginning of your scoliosis treatment and I don’t want you to feel overwhelmed. We begin with me teaching you a basic set of exercises that will help you get used to the posture work you’ll need to learn. Once you’ve got the basics, we can refine the exercises depending on where your strengths lie and what you find more challenging. As you progress, I will increase the complexity and challenge level of your exercises. As the difficulty of exercises increase, your scoliotic habits tend to become easier to spot. You’ll develop the ability to resist your scoliotic habit and improve your posture, proprioception, and coordination. In tandem with reviewing and adjusting your exercise routine, I’ll also adapt manual treatment to best support your progress.

Treating Scoliosis with Exercise

Ali Arms Wide.jpg

When I treat scoliosis with exercise, I work with four themes.

·      Strengthening

·      Stretching

·      Improving proprioception

·      Integration

As I’ve discussed in other articles, I describe scoliosis in terms of compression zones in the torso. In these compression zones, muscles are small, tight and lacking vitality. By “lacking vitality” I mean that these muscles remain in a state of contraction rather than behaving like healthy muscles. Healthy muscles go back and forth between contracting and releasing depending on their role in various movements.

The fundamental principle of my treatment method is creating volume and vitality in the compression zones of the torso.

 Strengthening

Joshua row side view and shirt 2.jpg

A proven way to increase volume and vitality is through the use of strengthening exercise. The ability of strengthening exercise to enlarge muscles has been thoroughly and dramatically demonstrated in the world of bodybuilding. I advocate an ambitious approach to strengthening the muscles in the compression zones of the torso to bring about greater volume. Increased vitality is also demonstrated by a person’s ability to move heavier weights.

Stretching

There is now an enormous body of research showing that muscles can be lengthened through stretching. The most popular stretching practice is the art of yoga, but a person doesn’t have to be a student of yoga to have an effective stretching routine.

Improving proprioception

2017_11_25-JoshLyons-069.jpg

Those of us with scoliosis feel that we are more or less straight most of the time, when we are in fact curved. This shows that our proprioceptive sense – our sense of the relative position of our body parts – is inaccurate. Along with an exercise based regimen of strengthening and stretching I also advocate retraining our proprioception so that it is more accurate. The method I have studied is the Alexander Technique. I also use mirrors in my exercise routine, so that I can compare my sense of myself with the reality that I’m able to see in a mirror. Over time my proprioception has improved, as demonstrated by my ability to stand straighter.

Integration

One of the things that I say constantly to my students is that exercise alone is not enough to impact scoliosis. Any exercises can only be considered successful if they teach us how to integrate a more upright way of moving and living into our daily lives. We can only spend a certain amount of time doing a strengthening or stretching exercise. But we will be in our bodies 24/7 – and for some of that time we will be awake! Our ability to integrate an exercise program so that it positively impacts our moment to moment living will be the difference between success and failure with non-surgical treatment of scoliosis.

Read and Interpret X-ray and Radiologist’s Report for Scoliosis

Your X-ray is the most important document that you have related to your scoliosis. It gives you objective and reliable information about the shape your spine is in. My treatment plans are based on what I see in your X-ray.

Here is an example of an X-ray with one of the more common curve patterns that I see in my clients. I’ve given the person in this X-ray the fictitious name Jane.

S curve scoliosis.jpg

Jane’s pattern is a S-curve scoliosis with right thoracic and left lumbar curves. The Cobb angles of both curves were reported by the radiologist as being in the high 30s.

Notice the “R” at the side of Jane’s ribs. That indicates which side is the right hand side. So, when looking at this X-ray, you can imagine that you’re looking at her from the front.

The main thing that I’m looking for when I read an X-ray is where the compression areas in the person’s torso are. In the case of Jane, there are three main compression areas. The lowest is on the left hand side between the lumbar spine and the top of the pelvis. Above that there is a compression area that is centered at the height of the 2nd and 3rd lumbar vertebrae. Above that there is a thoracic compression area that is centered at the height of the 9th and 10th thoracic vertebrae. As the cervical spine and head are titled to the right we can also see a compression area between the cervical spine and the shoulder, which we can identify by the line of the collar bone. The lower compression areas are more important to focus treatment. I often find that my clients are able to bring their head and neck into better alignment as the lower compression areas improve.

S curve scoliosis with compression areas.jpg

In this image you can see that I’ve indicated the compression areas that I described above. I have found that when a spine has lateral curves, the muscles in the concave areas created by the curves tend to be shortened, tight and lacking in vitality.

The goal of scoliosis treatment is to bring more volume and vitality to the compression areas of the torso.

This is the best way to ensure that your spine remains supported, your curve doesn’t grow, and you avoid surgery.

In my own experience, as the muscles in my compression areas have become longer, looser and more alive my posture has improved significantly and my spine has become straighter. 

Assess Your Posture and Coordination

In my last blog post I explained how I identify my clients’ compression areas from looking at their X-rays. In this blog I’m going to connect how the compression areas on the X-ray images correspond to what a person might look like at a first session. 

Compression Area_1.png

Here are two pairs of images showing my compression areas. A pair indicating my thoracic compression area in both X-ray and photograph, and then the same for my lumbar compression.

As I’ve been working with people who have scoliosis for many years it’s not difficult for me to see their scoliotic pattern even when they’re standing in their normal clothing. It becomes easier still when they are in their treatment clothes. For those clients who have an upright posture where their scoliosis is harder to see I use the Adams Test.

The Adams Test is a simple observation exercise. The client stands with their back to the practitioner and bends forward as if to touch their toes. As they do this, if they have a scoliosis, the ribs on the side of the convex aspect of their curves will become more visible. If a client does a forward bend and their ribs seem larger on the right then they have a right thoracic curve – and therefor they will have at least two compression areas. One compression area on the concave aspect of the thoracic curve and one compression area beneath their thoracic curve in their left lumbar area. Depending on whether the client has a C curve or a S curve there may be one more lowest compression area. The Adams Test is not as accurate in revealing lumbar curves as it is thoracic curves, which is why an X-ray is so important for identifying the shape of your spine.

Compression Area_2.png

I look at my clients as they stand and I also look at them in a seated position. The seated position is useful, because any disorganization in the relationship of the legs to the torso causes less interference to the torso when you’re sitting. I also ask my client to go from sitting to standing and back again. The simple movements of moving back and forth between sitting and standing tend to be very revealing about a person’s scoliotic habits. In every case that I have seen a person with scoliosis doesn’t just have a scoliotic shape, which can be seen in their X-ray and in their static postures. The scoliosis can also be seen in their habits of movement. Whenever a person with scoliosis stands or sits they compress further into their scoliotic shape. One I first noticed this about myself it was a realization that I found disheartening – I was making my scoliosis worse not only each time I stood up or sat down, but also throughout my daily life in all kinds of simple or complicated movements. I would compress further into my scoliosis to brush my teeth, talk on the phone, do the dishes, and I would compress further into my scoliosis when I was playing tennis, doing up my shoelaces or throwing a frisbee.

Toni training 3 copy.jpeg

It cannot be underestimated how completely our scoliosis and our scoliotic habits of movement are entwined. However, since I made my first realization about this connection, my feeling of being disheartened has shifted. While unconscious habits of movement can continually enforce and exaggerate a person’s scoliosis, conscious habits of movement that aim to avoid the scoliotic habit can be learned. Our daily movements, which for so many of us are enforcers of our scoliosis can become the means to free ourselves from the grip of our scoliosis and allow us to move with more uprightness and poise.

Training Posture and Proprioception

A patient is seated, not displaying “good posture.”

A patient is seated, not displaying “good posture.”

The patient corrects her posture.

The patient corrects her posture.

What is Proprioception and why is it important?

When you were in grade school you were probably taught that humans have five senses: touch, taste, smell, sight and hearing. Actually, we have many more senses than this. We are also able to sense pain, pressure, changes in temperature and changes in how our body parts relate to each other and to gravity. This last sense is called proprioception.

All of us with scoliosis usually experience ourselves as being upright, when the reality is that we have curves in our spines that makes us not quite as upright as we feel. Does a curved spine also cause inaccurate proprioception, or is faulty proprioception the root cause of scoliosis? Research hasn’t been able to answer this question or provide an exact reason why how scoliosis occurs.

In my own study of different methods of scoliosis treatment and my efforts to stop the progression of my curve, I’ve noticed that improving my proprioception has been an important part of correcting my posture. Posture correction is at the heart of my scoliosis treatment approach, and posture correction will be as successful as your proprioception is accurate. Improving proprioception and posture are essential to scoliosis treatment.

What do I mean by posture?

Joshua Seated mirror lean 1 copy.JPG

My goal for myself and for my clients is to create a symmetrical and upright posture. When I use the word posture, I’m thinking not just about being upright and symmetrical in standing still, but also in any position I may be in or any movement that I may be doing. Sometimes I use the expression “posture and coordination” to communicate fully what I mean by posture. Improved posture is an active part of our movement life that has no fixed position. I’m also not particularly committed to having “good” posture and far less to “perfect” posture. There is always room for improvement and I am constantly trying to improve. Trying to hold on to “good posture” sounds like the kind of activity that is likely to make me more rigid.

Scoliosis Work is Posture and Proprioception Work

Joshua Seated mirror lean 2 copy.JPG

Scoliosis treatment begins and ends with your posture. If you are able to maintain an upright, symmetrical posture and a balanced coordination I believe that your chances of avoiding curve progression are very good. My own posture has been continually improving over many years and I think that this is the reason why my spine has become straighter. I wish the same success for you.

Your Scoliotic Habit

A patient exaggerates a scoliosis habit.

A patient exaggerates a scoliosis habit.

The same patient corrects her scoliosis habit.

The same patient corrects her scoliosis habit.

Structural vs. Functional Scoliosis

To understand what I mean by “your scoliotic habit” it’s useful to start by talking about the terms structural and functional in relation to scoliosis.

Structural and Functional are classifications that are used to explain whether a person’s scoliosis can straighten when they perform a side bend motion that is in the same direction as their curve. For instance, if a person has a right thoracic scoliotic curve then a side bend to the right should straighten their curve. If their spine straightens then they are diagnosed with a functional scoliosis. If their spine does not straighten then they are diagnosed with a structural scoliosis.

The importance of the two classifications is that they are used as predictive terms to describe whether there is or is not the possibility for improvement in a person’s scoliosis. A person’s  scoliosis is assessed as functional, then it is assumed that there is some possibility of improvement, whereas if a person’s scoliosis is assessed as structural, then it is assumed there is no possibility for improvement.

The weakness of this form of diagnosis is that people who perform side bending exercises over several weeks tend to demonstrate more ability to straighten their spine in side bending than people who have done no exercises. This reveals that the diagnosis of a structural scoliosis is not particularly precise.

It seems more likely that people with a moderate or severe scoliosis have some ability to straighten their spine, but cannot straighten their spine completely.

The question then becomes: how much of your scoliosis is structural and will never be corrected, and how much of your scoliosis is functional and can be corrected through appropriate non-surgical methods?

The answer that I give myself and all of my clients is: There’s no need to make assumptions. Let’s work hard and find out what’s possible.

Recognizing your scoliotic habit

Over many years, my study of movement and posture methods has confirmed my observation that all of us with scoliosis have some aspect of our scoliosis that is functional, and that this functional part of our scoliosis is a kind of postural habit. Many years ago, with the help of my teachers, I realized that I used to move in a way that expressed and exaggerated my scoliotic curve pattern.

I noticed that when I would sit in a chair I would slightly side bend to the left in my thoracic torso – a movement that matches my thoracic curve to the right, as there is a concave space in my left thoracic torso. As my awareness became clearer I noticed that my habit of compressing and side bending in my left thoracic area would actually happen in almost all movements that I was doing: standing up from a chair, talking on the phone, picking an object off the floor, brushing my teeth, and playing racket sports like squash and tennis.  When I work with my clients I find the same habits exist in them as well.

All of us with scoliosis, to a lesser or greater degree, are exaggerating our scoliotic shape with our habits of posture and movement.

How to resist your scoliotic habit

Seated mirror corrected copy.JPG

I’m sure I’m not the first person to make the observation that you can’t fix a problem if you’re not aware of it. The first step in resisting your scoliotic habit is becoming aware of it. A helpful tool for this is a full-length mirror. Identifying and resisting your scoliotic habit is a challenge that requires accuracy and patience. We all want to get results as quickly as possible, but I find that going too quickly can lead to mistakes. The first thing I have students do is sit on a chair in front of a full-length mirror and take enough time to learn about themselves and their posture before trying to make corrections. This process of observation allows us to take our time and make accurate adjustments.

Once my client has taken the time to observe themselves in their usual sitting position then I introduce simple movements for them to do. These movements include leaning forward, leaning backward, standing up and sitting down. Even these simple movements provide a great deal of information in how we either sink into or resist our scoliotic habit.

Stretching and mobility work

Joshua hamstring stretch 3 copy.jpg

Stretching is an extension of Posture and Proprioception training

The most important part of scoliosis treatment is posture and proprioception training, which I discussed in detail in previous blog articles. I start the process of training posture and proprioception with Mirror Work, where my student learns to correct her or his posture, and – most importantly – integrate this correction into their awareness of a more symmetrical, more upright posture in everyday life.

It’s interesting to note that when you are making a correction during Mirror Work you are creating a stretch, although perhaps it is a less recognizable, more subtle stretch than a hamstring stretch or a backbend.

Stretching is best used as an extension of Mirror Work. In your stretching routine your goal should be to use each stretch position as a way to bring yourself into a more symmetrical posture. Anyone can do a hamstring stretch, but to perform a one-leg hamstring stretch while resisting your scoliotic habit, and instead standing with an improved symmetry, is extremely challenging, and also extremely beneficial.

The core stretches I use are:

  •  One leg hamstring stretch

  •  Seated and standing forward bend

  •  Kneeling backbend

The secondary stretches I use are:

  •  Wall assisted V stretch

  •  Wall assisted twist

  •  Side leg hang

The importance of Sagittal stretching

Sagittal is the term used to describe the plane of movement that is front to back. When an archer draws back their bow string, the movement happens along the sagittal plane. Forward bends and back bends also happen along the sagittal plane. Nodding your head is a sagittal movement, while shaking your head is not – it is a movement along the transverse plane.

An example of a forward bend.

An example of a forward bend.

Sagittal stretches are very useful for treating scoliosis, because those of us with scoliosis have muscles on either side of our spine that don’t match. When you do a side bend you affect one area of shortness and, if you build a stretching routine entirely of side bends to work on your compression areas it will be difficult to have a somewhat objective idea of what progress you’re making in creating symmetry. In contrast to this, if you are sitting on a chair and you bring your torso forward 30 degrees – if you have been able to come forward symmetrically – you know that you have required an equal amount of stretch from each side of your torso. If you have a lumbar compression area and a lumbar expansion area, the compression area will have been asked to stretch more relative to what it is used to, the expansion side will have been asked to stretch less than what it is used to, and they will have lengthened the same distance. While not being an example of perfect scientific measurement, this approach provides a more reliable way of assessing progress than side bending. It is also a stretching experience that you can more easily integrate into your daily life than side bending. This is because you are more or less upright during the stretch, as you are most of your normal day, and you are moving along the sagittal plane, which is more common in everyday movement than side bending is.

Stretching along your medial line

The medial line is the midline of your body. In scoliosis the lateral curves of your spine mean that your spine is not organized entirely along your medial line as it is with people with no scoliosis. When I say that the purpose of scoliosis treatment is to support you in having a more symmetrical and upright posture, another way of wording it would be to say that your goal is to support your spine in being as organized along your medial line as possible. This is another reason why I consider side bending exercises to be of secondary usefulness rather than core exercises. While side bending exercises are useful for encouraging volume and vitality in the compression areas of your torso they are not particularly useful for teaching you how to maintain your spine along your medial line. The most efficient way to help you learn where your centre line is rather than side bends, is to do stretches and exercises that directly involve working on your centre line while in positions that you are most likely to be in during your everyday life – standing, sitting, walking around, etc. The postural corrections that you work on when doing sagittal stretching directly aim towards finding your medial line more clearly in everyday life.

Get your torso supple first, then work on straightening

As I emphasize in all of my writing the goal of scoliosis treatment is to support yourself in being as upright and symmetrical in your posture and coordination as possible throughout your daily life. The effectiveness of treatment sessions or home exercises is measured by how well they have contributed to this goal.

An essential step in being more upright and symmetrical is increasing the volume and vitality in the compression areas of your torso. The stretching routine I recommend contributes towards this need in three ways.

  • By making your body generally more supple.

  • By including stretches that target the compression areas of your torso.

  • By providing an opportunity to improve your posture and resist your scoliotic habit while performing a stretching movement. Performing any movement is such an opportunity.

I often find with my new students that they have a hard time making the postural corrections that I cue them to make, not because they don’t understand my instruction, but because their muscles aren’t supple enough to accommodate the necessary change. Stretching is an effective way to make these rigid muscles more supple, especially in conjunction with manual treatment, which I talk more about in my blog article Manual Treatment for Scoliosis.

Don’t worry if at first you struggle to make postural corrections that improve the symmetry of your torso. Over time consistent use of stretching will loosen rigid muscles and make postural corrections easier.

Mobility Work

The value of mobility work

Stretching and strengthening exercises are both effective ways to create volume and vitality in the compression areas of your torso. Another effective way is to use mobility exercises. When you do stretches you are encouraging muscles to loosen and lengthen as your approach to creating volume and vitality. When you do strengthening exercises you are encouraging muscles to become larger and more powerful to create volume and vitality. Mobility exercises create volume and vitality by having your muscles engage and relax as they move you through a range of motion. Tight muscles have a hard time changing efficiently between being engaged and relaxed, so mobility exercises that require this efficient change will help make tight muscles more supple. Remembering that scoliosis is both a condition of asymmetry and also rigidity, you can understand that the ability of mobility work to make muscles more supple is very useful.

Standing hamstring off.

Standing hamstring off.

Standing hamstring corrected.

Standing hamstring corrected.

Spinal rotation

Although scoliosis is usually described as a side curve of the spine, practitioners all agree that as the spine curves to the side it also rotates. Understanding that the rotation caused by structural scoliosis is said to be impossible to treat without surgery, and rotation caused by functional scoliosis may be effectively treated you would want to ask the question: how much of my rotation is structural and how much is functional. I don’t think that it’s possible to know the answer to this question except by doing. Start working on your ability to rotate through your spine and whatever improvement you get in your scoliosis was functional and whatever you are unable to change was structural.

The thoracic section of the spine is much more designed for rotational movement than the lumbar spine. For this reason, my goal when working on rotation is to aim for an equal amount of left and right rotation in the thoracic section of the spine. I have no particular goal for rotation in the lumbar spine.

Strengthening for Scoliosis

Joshua and Ali row help copy.jpg

Strengthening is an extension of Posture and Proprioception training

The most important part of scoliosis treatment is posture and proprioception training, which I discussed in detail in an earlier blog article. I start the process of training posture and proprioception with Mirror Work, where my student learns to correct their posture, and – most importantly – integrate this correction into their awareness of a more symmetrical, more upright posture in their everyday life.

It’s interesting to note that when you are making a correction during Mirror Work you are doing a strengthening exercise, although it is a less recognizable, more subtle strengthening exercise than a biceps curl or a barbell squat. In order to make a postural correction you are asking muscles to work harder to draw you into alignment that have not worked in this way for a long time or possibly ever.

Strengthening is best used as an extension of Mirror Work. In your strengthening routine your goal should be to use each strength exercise as a way to bring yourself into a more symmetrical posture. Anyone can do an overhead press, but to perform an overhead press with significant weight while resisting your scoliotic habit, and instead standing with an improved symmetry, is extremely challenging, and also extremely beneficial.

The usefulness of strength work

Strengthening exercises offer a few different elements that make them very helpful in a scoliosis treatment plan.

  • Strength work is a proven way to increase muscular volume and vitality. A core principle of scoliosis treatment is to increase volume and vitality in the compression areas of the torso.

  • Strengthening exercises that target the upper and lower limb require stabilization from the postural muscles along the spine. This aligns well with the goal in scoliosis treatment of waking up and balancing the core stabilizer muscles of the spine.

  • Strengthening exercises are an extension of Mirror Work, which is the essential way you can improve posture and proprioception. Adding a weight-bearing exercise while continuing to work carefully on posture and proprioception increases the effectiveness of Mirror Work.

The Exercises

The core strength exercises I use are:

  - Vertical pull: Single arm lat pull down. 

 - Horizontal pull: Single arm rhomboid row.

 - Vertical push: Dumbbell overhead press.

 - Horizontal push: Dumbbell bench press.

 - Single leg press: Either horizontal or seated.


Joshua single arm lat pull 1 copy.jpg

Vertical Pull

The vertical pull is also called the lat pulldown, referring to the latissimus dorsi muscle. The goal of the lat pulldown is to bring vitality and volume to the thoracic compression area of your torso. As you’re pulling with only one side of your body, this is also a great exercise for training your torso to remain symmetrical and upright even as you work asymmetrically.

I have a left thoracic compression area and perform this exercise with each arm. When I’m using my left arm this exercise builds volume and vitality in my left thoracic compression area. When I’m using my right arm I use this exercise to train myself to keep my posture as symmetrical as possible throughout the movement.


Horizontal Pull

The horizontal pull is also called the rhomboid row, referring to the rhomboid muscles that connect the spine with the shoulder blade. The goal of this exercise, like the lat pulldown, is to bring vitality and volume to the thoracic compression area of your torso.

Again, like the lat pulldown, when I’m working my left arm my goal is to maintain symmetrical alignment and build volume and vitality in my left thoracic compression area. When I’m working my right arm my goal is simply to maintain torso symmetry as much as possible throughout the movement.


Vertical Push

The vertical push is more commonly called the shoulder press or the overhead press. A shoulder press is usually included in someone’s workout routine because they’re interested in developing stronger shoulders. For those of us with scoliosis this exercise has another purpose. As you bring the weights above your head for the shoulder press the pressure from the weights has to be transferred through your torso and spine and down through your legs to the ground. This makes the shoulder press an excellent exercise for training yourself to resist your scoliotic habit of compression.

A single arm vertical push is an awkward exercise to do. Unlike with the two previous pull exercises, I do two handed vertical pushes.


Horizontal Push

The horizontal push is also called the bench press. The bench press can be performed with a barbell or dumbbells and I suggest dumbbells, so that you can make sure that your arms are working equally. The bench press is the least important of the four upper body exercises that I use for scoliosis strengthening. It doesn’t build the muscles of your back in the way that the pull exercises do, and it doesn’t teach you to stand while organizing your posture symmetrically in the way that the overhead press does. However, it’s important to include the bench press in your strengthening routine. You will be increasing the strength of your back with the pull exercises, and it’s important to maintain front to back balance.


Single Leg Press

There are two reasons for doing the single leg press. The first is to make sure that your legs are equally long – as always we don’t want to have asymmetric strength. The second is to train you to resist your scoliotic habit of torso compression when doing this leg exercise. As the amount of weight that you’re pressing increases you’ll find that your scoliotic habit becomes more evident and harder to resist. Keeping your torso symmetrical while you work your legs is a great skill to develop.


Starting Strength Exercises

When I first started weight training I began with very light weights, because I had never done strength work before. Don’t worry about how light the weights are when you begin doing a strengthening routine, and don’t try to increase the amount of weight that you’re using too quickly or you risk injuring yourself. The important thing is to be consistent. Try to include strengthening in your routine three times per week.


Progressive Overload

Joshua random strength pic copy.JPG

Progressive overload is a term used to describe the process of increasing the amount of weight you train with so that your muscles get tired during your workout. As you do more strength training you will find that the weight you started with becomes easy. At this point you should increase the amount of weight that you’re using so that your muscles continue to be challenged. Remember that your goal is to build volume and vitality in the compression areas of your torso. Gradually increasing the amount of weight that you work out with is a way to encourage the muscles in the compression areas of your torso to continue to grow.

The nice thing about strength work is that it will also make you fitter and stronger in general. I like having a scoliosis care routine that helps me be generally stronger, so that it’s more than just a treatment for my scoliosis that has no other application in my life.


Good luck with your strengthening. I’ll be writing more articles on this topic, and if you have any questions send me a message.

Using Manual Treatment

Joshua and Ali seated 2 copy.jpg

A point that I’ve made in each of the last few blog entries, and that I’ll make again now, is that the most important part of scoliosis treatment is posture and proprioception training.

I start the process of training posture and proprioception with Mirror Work, where my student learns to correct their posture, and – most importantly – integrate this correction into their awareness of a more symmetrical, more upright posture in their everyday life. One of the ways that manual treatment can feed into and support Mirror Work is by doing manual treatment in the Mirror Work start position. This means doing manual treatment while my client is in the seated position, so that as I work on the compression areas of their torso, they have an immediate experience of how the work is affecting them in an upright position, rather than receiving the treatment while lying down and then transitioning to be upright.

In previous blog entries I’ve described the exercise parts of my treatment plan:

Joshua works with Ali_s mid compression 4 copy.jpg
  • Posture and proprioception training.

  • Stretching and mobility work.

  • Strengthening.

The fourth and final piece of my 4-part approach to scoliosis treatment is manual treatment. Manual treatment involves the use of my hands to loosen, lengthen and reposition muscles and fascia to help my clients be more symmetrical and upright. Manual treatment is a helpful complement to exercise work, and it is also able to effect areas that are sometimes hard to reach through exercise.

There are three main goals of manual treatment:

  • Align the feet and legs in relation to the pelvis and spine.

  • Create volume and vitality in the compression areas of the torso.

  • Support balance and full range of motion in the arms and shoulders.

Joshua working ribs 3 copy.JPG

Of these goals the most important is the second: creating volume and vitality in the compression areas of the torso. However, if disorganization in the legs and feet or in the arms and shoulders is very noticeable, I may work in one of these areas first before beginning to work in the compression areas of the torso.

I am a certified practitioner of Ida Rolf’s Method of Structural Integration and this training forms the basis of my manual treatment work. Over the past fifteen years I have adjusted my technique, so that much of what I now do with scoliosis clients, while rooted in my Structural Integration training, was developed by me through my experience of having scoliosis and working with many scoliotic clients.

Success with Scoliosis

Joshua works with Plantar Fasciitis 3 copy.jpg

I’m not going to take you on a long journey to reach the point of this article, or create any kind of suspense or anticipation.

The key to success is consistency.

Of course, the first step to successful scoliosis treatment, as with any goal we care to pursue, is to come up with the right plan for achieving our end. Here I’m going to summarize the plan that I use to succeed with my own scoliosis treatment, which is also my approach with all of my students.

The main principle of scoliosis treatment is to help you maintain as symmetrical and upright a posture as possible in as much of your daily life as possible.

In order to achieve this, I provide training designed to improve your posture and proprioception.

Your scoliosis can resist further progression and need for surgery when you create volume and vitality in the compression areas of your torso.

The main principle of scoliosis treatment is to help you maintain as symmetrical and upright a posture as possible in as much of your daily life as possible.

Training on vacation in Cancun, Mexico.

Training on vacation in Cancun, Mexico.

Strengthening exercises, stretching and mobility exercises are all effective means of making your whole body stronger and more flexible, creating volume and vitality in the compression areas of your torso and training you for a more symmetrical and upright posture.

As ways of creating volume and vitality in the compression areas of your torso, all exercises are an opportunity to train and improve your posture and proprioception.

I use manual treatment to support the exercises that you do and to influence parts of your body that are hard to impact with exercises.

These are the 4 Pillars of Scoliosis Treatment:

  • Posture and proprioception training.

  • Strengthening

  • Stretching and mobility work

  • Manual treatment

This is a thorough and effective way of treating scoliosis and it has transformed my body and coordination. It has the potential to do the same for you.

Over time you can grow in skill and confidence in recognizing your own scoliotic habit and resisting it to maintain a more symmetrical and upright posture. Over time you will be able to do this with greater accuracy and effectiveness, and you will be able sustain your improved posture over a longer and longer period of time.

If you are consistent. If you stick with it.